

Snap Together Garage Flooring Guide: Your 2026 Installation Companion

Transform your garage in a single afternoon, with no glue, no mess, and no need for professional tools. Imagine a space that is easy to upgrade, stylish, and built to last. In 2026, snap together garage flooring is the future-proof choice for DIY enthusiasts and homeowners seeking a seamless transformation.
This guide will empower you to confidently choose, plan, and install snap together garage flooring. You will discover its many benefits, learn how to select the right system, follow a step-by-step installation process, and maintain your new floor with ease. Explore cost analysis and advanced tips to ensure your garage stays durable, attractive, and low-maintenance for years to come.
Why Choose Snap Together Garage Flooring in 2026?
Transforming your garage starts with the right foundation. In 2026, choosing snap together garage flooring is more than a trend, it is a practical upgrade that combines innovation, durability, and style for homeowners and DIY enthusiasts alike.
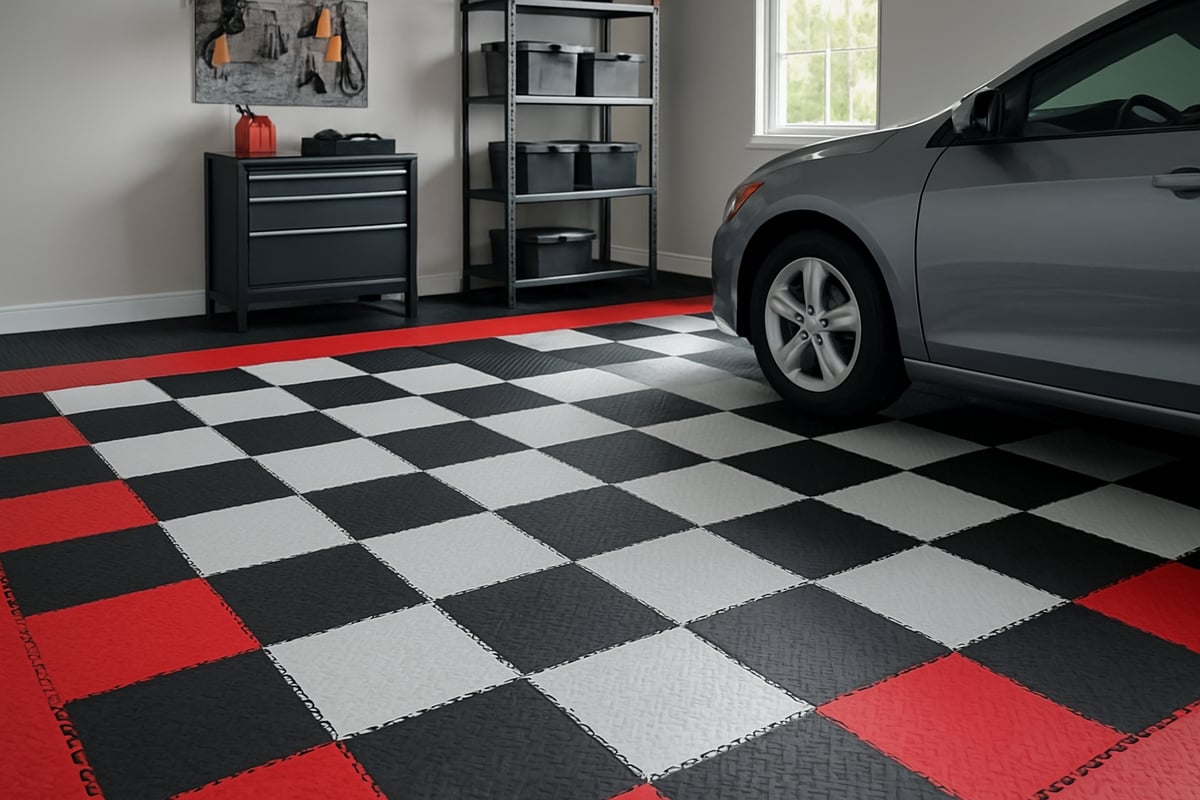
The Evolution of Garage Flooring: From Concrete to Modular Tiles
Garage flooring has come a long way from the cold, stained concrete of the past. Traditional options like epoxy coatings and roll-out mats once dominated the market, but each came with drawbacks. Epoxy was prone to peeling and required extensive prep. Mats offered convenience, but often trapped moisture or shifted underfoot.
The rise of snap together garage flooring in the early 2020s marked a turning point. Modular tiles, often made from recycled polypropylene or PVC, quickly gained popularity due to their durability and ease of installation. According to industry reports, modular garage flooring installations surged by 30 percent from 2022 to 2026, reflecting strong consumer demand.
What makes snap together garage flooring stand out? It is engineered to withstand heavy vehicles, dropped tools, and chemical spills without cracking or staining. Many systems feature slip-resistant surfaces and built-in moisture drainage, making them safer for busy garages. The tiles are available in a wide range of colors, patterns, and finishes, so you can match your personal style or create custom designs.
Environmental responsibility is another selling point. Many leading brands manufacture their snap together garage flooring from recycled materials, reducing landfill waste and supporting sustainability goals.
Here is a quick comparison of key benefits:
| Feature | Snap Together Tiles | Epoxy Coating | Roll-out Mats |
|---|---|---|---|
| Installation Time | 1 Day (DIY) | 2-3 Days | <1 Day |
| Durability | 15+ Years | 5-10 Years | 3-5 Years |
| Maintenance | Low | Medium | Medium |
| Customization | High | Medium | Low |
| Eco-Friendly | Yes (Recycled) | No | Sometimes |
With these advantages, snap together garage flooring offers the best blend of performance, convenience, and visual impact for modern garages.
Comparing Snap Together Flooring to Alternative Solutions
When weighing your options, cost and effort matter. Over a five-year period, snap together garage flooring provides impressive value. While the initial investment may be higher than paint or mats, you save on repairs, maintenance, and replacement costs.
Installation is another area where snap together garage flooring shines. Most homeowners can cover a two-car garage in just a few hours, with no need for adhesives or professional tools. In contrast, epoxy requires surface prep, curing time, and specialized skills. Mats are quick to roll out, but often need adjustment and can degrade rapidly.
A real-world example highlights the difference. One homeowner compared their experience installing snap together garage flooring to a neighbor’s epoxy project. The modular tiles were finished in a single afternoon, while the epoxy job took three days and required hiring a contractor. After two years, the snap together garage flooring still looked new, while the epoxy had chipped in several spots.
For a detailed look at how snap together garage flooring stacks up against other methods, visit the Garage Flooring Options Guide.
Let’s summarize the comparison:
| Factor | Snap Together | Epoxy Coating | Mats |
|---|---|---|---|
| Upfront Cost | Medium-High | Medium | Low |
| Install Time | Fast | Slow | Fast |
| Lifespan | Long | Moderate | Short |
| Maintenance | Minimal | Moderate | Moderate |
| Satisfaction | High | Variable | Low-Medium |
In summary, snap together garage flooring delivers superior value, speed, and satisfaction, making it the clear choice for forward-thinking homeowners in 2026.
Choosing the Right Snap Together Garage Flooring System
Selecting the best snap together garage flooring system is essential for both performance and longevity. The right choice transforms your space, offering durability and style tailored to your needs. With a growing market and innovative products, understanding what sets top systems apart will empower you to make a confident decision.
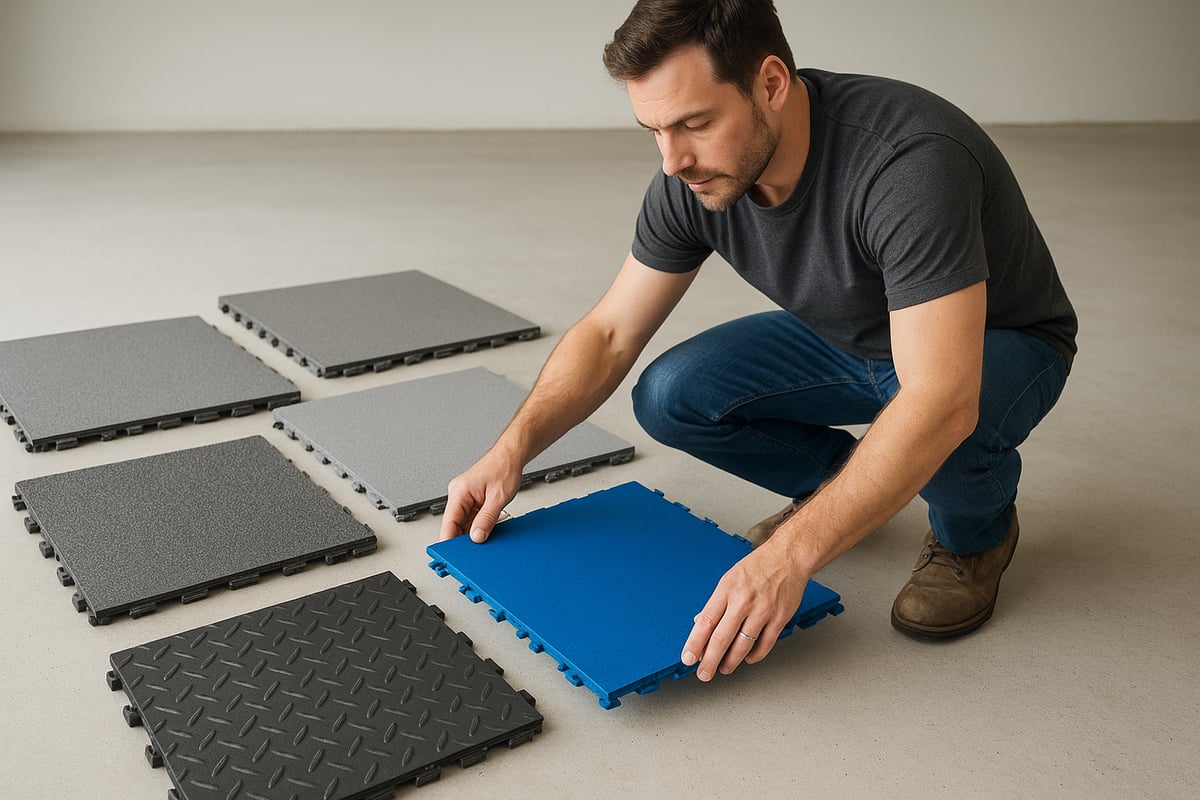
Key Features to Consider
When evaluating snap together garage flooring, material quality is a top priority. Most tiles are made from either polypropylene or PVC. Polypropylene offers exceptional rigidity, chemical resistance, and impact durability, while PVC delivers greater flexibility and comfort underfoot.
Tile thickness and load capacity matter, especially if you store cars, motorcycles, or heavy equipment. Look for tiles with a thickness of at least 16 mm and a load capacity exceeding 20,000 kg per square meter for residential garages.
The interlocking mechanism is another crucial feature. High-quality systems use precision-molded tabs for easy assembly and disassembly. This not only speeds up installation but also allows for future reconfiguration.
UV and chemical resistance ensure your snap together garage flooring retains its appearance and strength over time. Premium tiles withstand oil, antifreeze, salt, and sunlight without fading or warping.
Customization options let you create a personalized look. Choose from a variety of colors, patterns, edging, and even custom logos. Leading brands also offer accessories like ramps and corner pieces for a polished finish.
Warranty coverage and manufacturer reputation provide peace of mind. Most reputable brands offer 10–20 year warranties and have proven track records for quality and customer support.
Below is a comparison of leading brands:
| Brand | Material | Thickness | Load Capacity | UV/Chemical Resistant | Customization | Warranty |
|---|---|---|---|---|---|---|
| Swisstrax | Polypropylene | 19 mm | 30,000 kg/m² | Yes | High | 20 years |
| RaceDeck | Polypropylene | 12 mm | 25,000 kg/m² | Yes | Medium | 15 years |
| MotoLock | PVC | 16 mm | 20,000 kg/m² | Yes | Medium | 10 years |
For a closer look at available products and accessories, browse the Swisstrax Garage Floor Tiles and Accessories collection. This resource helps compare specifications and design options, making it easier to match your requirements.
Assessing Your Garage's Needs
Begin by measuring your garage to determine how many snap together garage flooring tiles you need. Account for waste from cuts and edges, and remember to include extra tiles for future replacements.
Consider your local climate. Snap together garage flooring performs well in most environments, but extreme temperature swings or high moisture levels may require tiles with enhanced expansion gaps or drainage features.
Assess the expected traffic. Residential garages benefit from standard heavy-duty tiles, while commercial or industrial spaces may need reinforced options for forklifts or frequent vehicle movement.
Accessibility is important if your garage doubles as a workshop or gym. Ramps and transition strips ensure smooth entry for wheelchairs or trolleys, and beveled edges reduce trip hazards.
Safety requirements should not be overlooked. Opt for tiles with slip-resistant surfaces and built-in drainage channels to prevent puddles and accidents. Some systems also offer fire-rated materials for added peace of mind.
By carefully matching your snap together garage flooring system to your unique space, climate, and usage needs, you ensure a long-lasting, attractive, and functional surface. This approach guarantees you get the most value and satisfaction from your new garage floor.
Step-by-Step Installation Guide for Snap Together Garage Flooring
Upgrading your garage with snap together garage flooring is a straightforward project that can dramatically change your space in just a few hours. Follow this step-by-step guide to ensure successful installation, whether you are a seasoned DIYer or a first-time renovator.
Preparing Your Garage for Installation
Before laying down snap together garage flooring, preparation is essential. Start by removing all vehicles, tools, shelving, and any stored items from the garage. This will give you an unobstructed workspace and prevent dust and debris from getting under your new floor.
Next, thoroughly clean the concrete surface. Sweep away loose dirt, then use a degreaser or mild detergent to address oil stains. For stubborn spots, a stiff-bristle brush can help. Inspect the floor for cracks or uneven areas. Small cracks can be filled with a suitable patching compound, while larger imperfections may require a self-leveling compound to create a flat surface.
Moisture control is another key consideration for snap together garage flooring. Ensure your concrete is dry and free from seepage. If you have persistent moisture, address it with a vapor barrier or consult a specialist. Allow the flooring tiles to acclimate in your garage for at least 24 hours. This helps prevent expansion or contraction after installation.
Proper preparation ensures your snap together garage flooring will lay flat and perform as intended.
Planning Your Layout
Effective planning leads to a professional-looking result. Begin by measuring your garage’s length and width to calculate the total area. Add an extra 5-10% to your order to accommodate cuts and waste, especially if your space has alcoves or obstacles.
Sketch your desired layout on grid paper, or use a digital tool for more complex designs. Many manufacturers offer online planners, such as the Swisstrax 3D Floor Designer Tool, to help visualize color patterns, borders, or accent tiles.
Decide whether you want to start installation from the center of the garage for symmetrical designs or from one corner for simpler layouts. Consider the direction of the tiles and any ramp or transition pieces needed for doorways. Mark your starting point clearly on the floor with chalk or masking tape.
When planning, think about accessibility for ramps, transitions, and the placement of edge pieces for a safe and seamless finish. Take note of any obstacles, such as support posts, and factor these into your tile count.
By investing time in layout planning, you ensure your snap together garage flooring fits perfectly and looks cohesive.
Installing the Snap Together Tiles
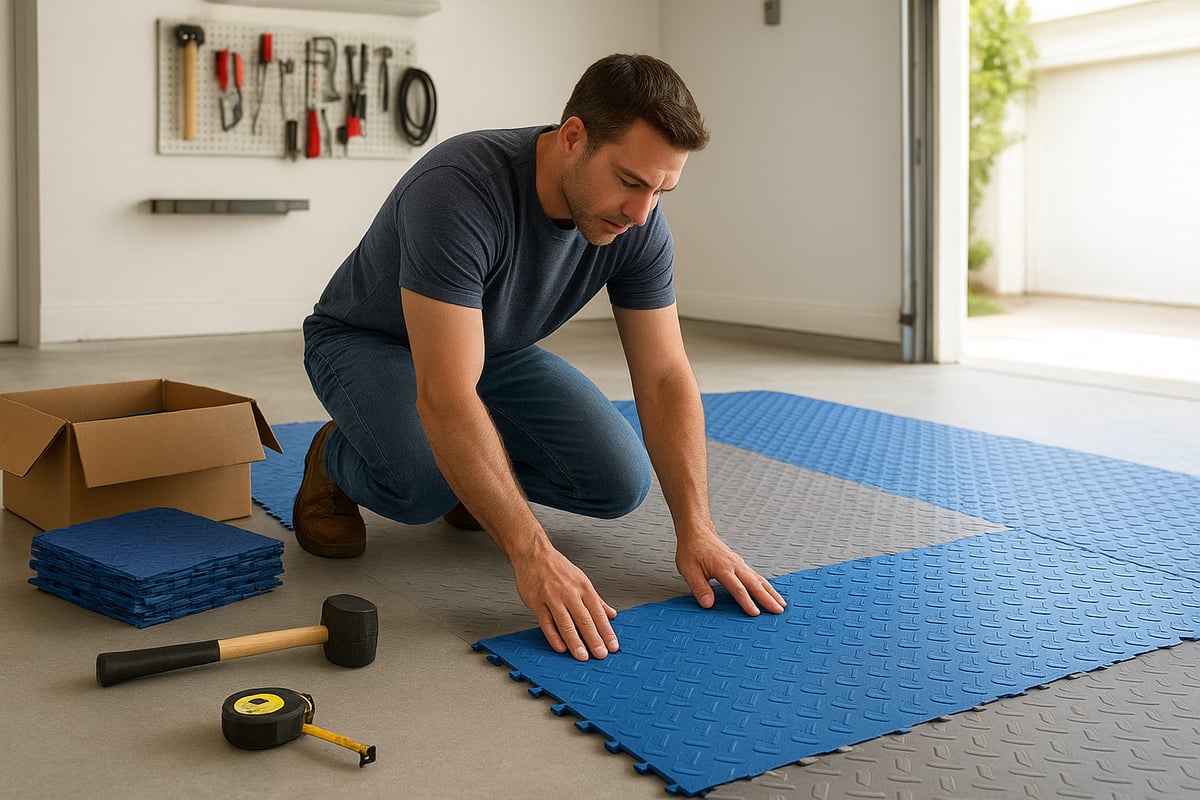
With your garage prepped and layout planned, you are ready to install the snap together garage flooring. Start by assembling the first row along your marked starting point. Align the tiles so the interlocking tabs face outward, making it easier to add subsequent rows.
Snap the tiles together by pressing down or gently tapping with a rubber mallet. Work methodically across the floor, row by row, checking alignment as you go. For larger spaces, stagger the tiles in a brickwork pattern for added strength and visual appeal.
When reaching walls or obstacles, measure and cut tiles to fit using a table saw, circular saw, or jigsaw. Always wear safety goggles and gloves when cutting. Leave a small expansion gap (about 0.25 inches) around the perimeter to accommodate temperature changes.
Install ramp edges and corner pieces at entry points for a smooth transition. For more detailed guidance, refer to the DIY Installation Instructions, which provide step-by-step visuals and expert tips.
Most homeowners can complete installation of snap together garage flooring in a standard two-car garage within 3 to 5 hours, making this an achievable weekend project.
Finishing Touches and Inspection
Once all tiles are installed, inspect the entire floor for gaps, uneven sections, or loose tiles. Use your hands to press down on any raised edges, ensuring a secure fit throughout the surface.
Sweep or vacuum the new snap together garage flooring to remove dust and debris. If needed, mop the floor with a mild cleaner to bring out the shine and remove any installation residue.
Carefully move storage items, tools, and vehicles back into the garage, placing mats under tires or equipment if desired. Conduct a final walkthrough using a checklist: verify that all tiles are secure, ramps are properly attached, and there are no tripping hazards.
With these steps, your snap together garage flooring will be ready for years of reliable use, transforming your garage into a functional and attractive extension of your home.
Maintenance and Longevity: Keeping Your Floor Looking New
A well-maintained snap together garage flooring system keeps your garage looking fresh for years. With minimal effort, you can protect your investment and enjoy a surface that stands up to daily demands. Let’s explore how to keep your floor in top condition, maximize its lifespan, and handle any issues quickly.
Daily and Weekly Care
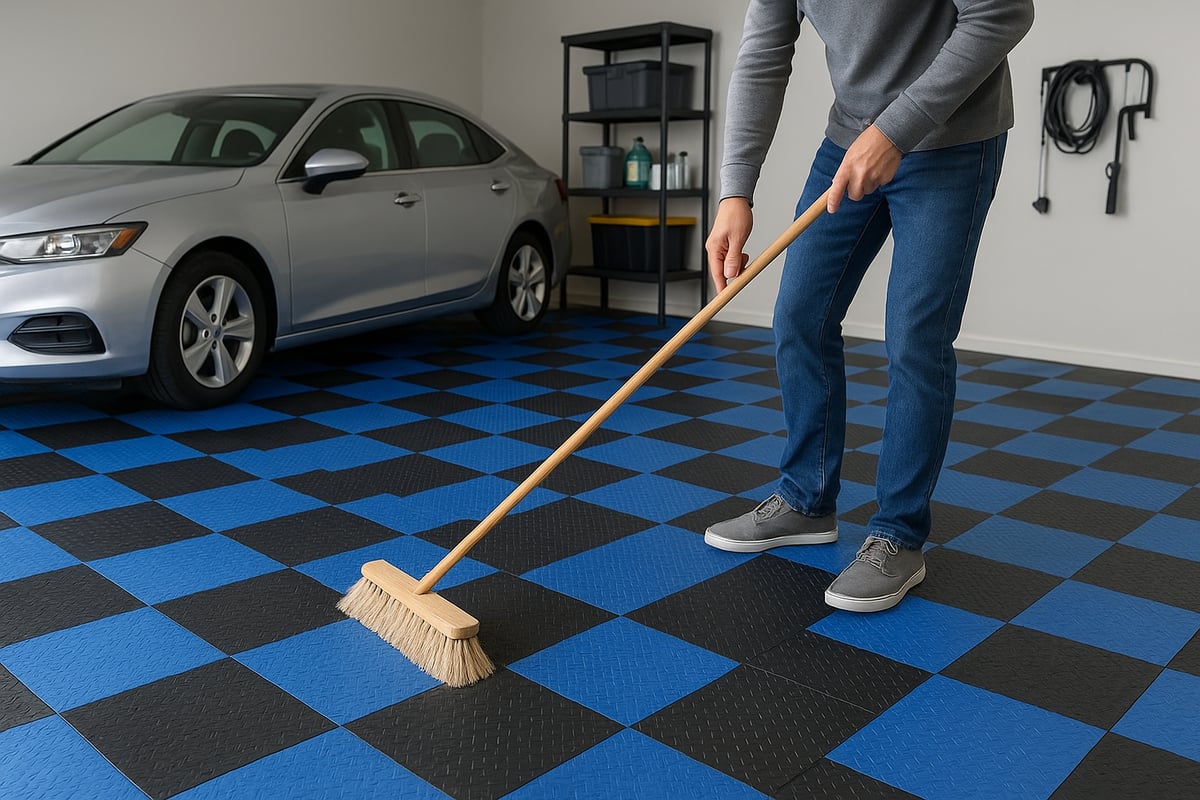
Regular cleaning is the foundation of long-lasting snap together garage flooring. Dirt, grit, and debris can accumulate quickly, so a consistent cleaning routine is essential.
- Sweep or vacuum the floor at least once a week.
- Mop with a mild, pH-neutral cleaner to remove dust and small spills.
- Avoid harsh chemicals that could damage the tile surface.
For oil or chemical spills, act promptly. Blot the spill, then clean with a soft cloth and appropriate cleaner. Most snap together garage flooring tiles are resistant to automotive fluids, but quick action prevents staining. Establishing a simple maintenance schedule not only preserves the floor’s appearance but also prevents buildup that can cause premature wear.
Preventative Maintenance
Protecting your snap together garage flooring from excessive wear enhances its lifespan. Use mats in high-traffic zones, especially near workbenches or entryways, to catch dirt and moisture.
- Inspect tiles regularly for looseness or damage.
- Address any moisture or drainage issues immediately.
- Check transitions and ramps for secure attachment.
If you live in a region with fluctuating temperatures, consider periodic checks for expansion and contraction. Keeping the floor dry and free from standing water prevents slipping and supports long-term performance. According to the Resilient Flooring Market Growth Forecast, demand for low-maintenance flooring like snap together garage flooring is rising due to its durability and ease of care.
Longevity and Replacement
With proper care, snap together garage flooring can last 15 years or more. The modular design allows you to replace individual tiles if they become damaged, saving time and reducing costs.
Here is a quick reference table for typical care and longevity:
| Maintenance Task | Frequency | Notes |
|---|---|---|
| Sweep/Vacuum | Weekly | Prevents grit accumulation |
| Mop | Monthly | Use mild cleaner |
| Tile Inspection | Quarterly | Replace if damaged |
Manufacturer warranties often cover defects, giving you peace of mind. Studies show that over 90% of users report satisfaction with the long-term durability of snap together garage flooring. By following these simple steps, your floor will maintain its appearance and functionality for decades.
Cost Analysis and Value: Is Snap Together Flooring Worth It?
Choosing snap together garage flooring is a significant investment, so understanding the full cost picture is crucial. Let us break down what you can expect to spend and save over time compared to other popular options.
Upfront Costs vs. Long-Term Savings
The initial cost of snap together garage flooring depends on brand, tile thickness, and installation method. On average, expect to pay between £35 and £60 per square meter for quality modular tiles. Compared to epoxy coatings, which often require professional labor and surface prep, snap together garage flooring is frequently more affordable for DIYers.
Installation is straightforward, so you can save on labor if you choose to self-install. For a standard two-car garage, most homeowners spend about £1,500 to £2,000 for materials, while professional installation may add £500 to £1,000. Over five years, snap together garage flooring typically outperforms mats or paint, which may require regular touch-ups or full replacement.
Here’s a quick cost comparison table:
| Solution | Upfront Cost | 5-Year Maintenance | Total 5-Year Cost |
|---|---|---|---|
| Snap Together Flooring | £1,500–£2,000 | £100–£200 | £1,600–£2,200 |
| Epoxy Coating | £2,000–£3,000 | £400–£700 | £2,400–£3,700 |
| Roll-Out Mats | £1,200–£1,800 | £500–£900 | £1,700–£2,700 |
Value-Added Benefits
Snap together garage flooring delivers more than just cost savings. It can enhance your home’s resale value and curb appeal, making your garage look finished and inviting. Potential buyers often appreciate a clean, durable floor that requires minimal upkeep.
Maintenance is simple. Unlike epoxy or painted surfaces, modular tiles are easy to clean and rarely need repairs. If a tile becomes damaged, you can swap it out in minutes, keeping your garage looking pristine without expensive fixes.
Another key advantage is flexibility. If you decide to move or redesign your garage, snap together garage flooring can be disassembled and reused in your new space. This adaptability ensures your investment continues to pay off for years to come.
Real-World Examples and ROI
Consider a homeowner who upgraded to snap together garage flooring in 2024. After two years, they found their home’s value increased by £4,000, far exceeding the initial flooring investment. According to the Garage Flooring Market Overview, demand for modular solutions is expected to rise steadily through 2035, which may further boost property values.
Industry data shows that leading brands in 2026 average £40–£55 per square meter, with most users reporting high satisfaction rates and minimal long-term expenses. Many homeowners recoup their costs through reduced maintenance, improved aesthetics, and greater resale value.
In summary, snap together garage flooring offers a compelling blend of affordability, performance, and return on investment, making it a smart choice for any modern garage.
Advanced Tips, Trends, and Innovations for 2026
The world of snap together garage flooring is evolving rapidly, offering homeowners more customization, smarter integration, and future-ready solutions than ever before. Staying ahead of the curve means understanding the latest features, avoiding common pitfalls, and making choices that will serve you well for years to come.
Customization and Smart Garage Integration
In 2026, snap together garage flooring is all about personal expression and intelligent features. Homeowners can select from a vast array of colors, patterns, and even custom logos to match their style or brand. Multi-zone layouts are now common, enabling you to designate areas for vehicles, workshops, or fitness zones with distinct tile colors and textures.
Smart integrations are also on the rise. Some modular tiles come equipped with LED lighting, providing both ambiance and increased safety in dimly lit garages. For those who want to plan their dream space, the Swisstrax 3D Floor Designer Tool lets you visualize and customize your layout before any tiles are installed. Eco-conscious options are expanding, with tiles made from recycled plastics offering sustainability without sacrificing quality.
Common Mistakes and How to Avoid Them
Even with the best snap together garage flooring, success hinges on careful preparation and planning. One frequent mistake is overlooking subfloor preparation. Always ensure the concrete base is clean, dry, and level, as this prevents future issues with uneven tiles or moisture buildup.
Miscalculating the number of tiles is another pitfall. Double-check your measurements and factor in waste for cuts and unique layouts. Most manufacturers provide calculators or guides to help estimate quantities accurately. Ignoring installation guidelines from the manufacturer can also lead to premature wear or warranty voids. Take time to review instructions and consult support if needed. By sidestepping these errors, you set yourself up for a flawless, durable garage floor.
Future-Proofing Your Garage Floor
Thinking ahead is essential when investing in snap together garage flooring. Modular systems make it easy to add or reconfigure zones, such as adding a gym area, storage section, or even a showroom for prized vehicles. As new tile technologies and accessories enter the market, updating your floor becomes a straightforward process.
Stay informed by joining online forums, exploring design tools, and watching installation tutorials. Industry analysts forecast continued growth and innovation in the modular flooring sector, as highlighted in resources like the Flooring Industry Rebound in 2026. By choosing a flexible system today, you ensure your garage remains stylish, functional, and adaptable for whatever the future brings.
After exploring the benefits, installation tips, and long-term value of snap together garage flooring, you’re now equipped with everything you need to transform your space in 2026. If you’re ready to take the next step and want a clear idea of costs tailored to your project, I recommend getting a personalized estimate. Elite Modular Flooring’s expertise with Swisstrax tiles ensures you’ll receive a solution that’s durable, stylish, and built to last. Let’s make your garage upgrade as seamless and efficient as possible—start by requesting your Quick Quote today.

